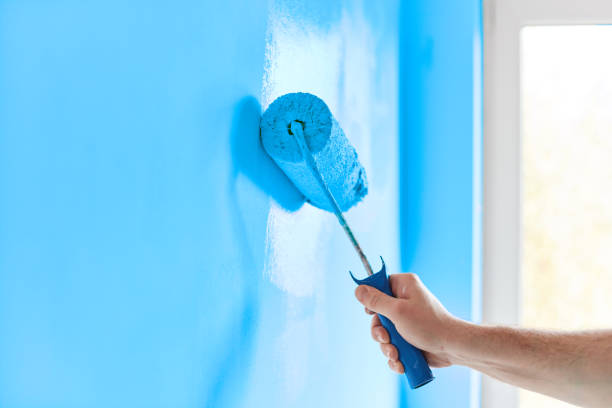
 Choosing the right type of paint for your project is essential to achieving a professional look, ensuring durability, and protecting the surfaces you’re working on. Interior and exterior paints are designed to meet different demands. Understanding their differences and proper applications can help you make an informed decision.
Key Differences Between Interior and Exterior Paints
| Feature | Interior Paint | Exterior Paint |
| Durability | Resistant to scrubbing, cleaning, and stains | Designed to withstand weathering forces |
| Weather Resistance | Not weather-resistant | Withstands rain, UV rays, temperature changes |
| VOC Content | Typically lower for minimal indoor odor | Often higher due to added durability agents |
| Finish Options | Available in a wide variety of finishes | Focuses more on durability than aesthetics |
| Adhesion Properties | Designed for smoother, sealed indoor surfaces | Adheres well to rough or porous outdoor surfaces |
When to Use Interior Paints
- Smooth Finish: They provide a refined finish that works well on walls, ceilings, doors, and trim inside the home.
- Ease of Maintenance: Cleaning walls painted with interior paint is easier thanks to their stain-resistant properties.
- Low Odor: Many interior paints are low in volatile organic compounds (VOCs), making them safer for enclosed spaces during application.
Best Uses:
- Living rooms
- Bedrooms
- Bathrooms (with moisture-resistant formulas)
- Kitchens
When to Use Exterior Paints
- Resilience Against Elements: Made with weather-resistant materials that prevent peeling, cracking, or fading.
- Flexibility: Adapts better to surface expansion caused by heat or cold.
- Protection from Mold & Mildew: Includes special additives designed for humid or wet climates.
Best Uses:
- House exteriors
- Fences
- Garage doors
- Outdoor furniture
Can You Substitute One for the Other?
- Durability Issues: Indoor paint cannot withstand prolonged exposure to sunlight or rain.
- Health Hazards Indoors: High-VOC content in exterior paints can release harmful fumes when used indoors.
- Aesthetic Concerns: The wrong type of paint often results in poor adhesion or an unappealing finish.
Tips for Selecting the Right Paint
- Identify where the surface is located – indoors vs outdoors.
- Assess environmental conditions like humidity levels or sun exposure.
- Prioritize finishes that suit both functional needs (durability) and design goals (appearance).
- Check the manufacturer’s recommendations on application areas.
By understanding these differences in formulations, performance characteristics, and applications of interior versus exterior paints, you ensure that your projects stand the test of time while maintaining aesthetic appeal without compromising functionality.
Tips for House Painting Perrysburg OH Ceilings Like a Pro
Painting a ceiling can be a challenging task, often requiring precision and technique to achieve professional results. By following these four key tips, you can elevate the quality of your work while minimizing common mistakes.
Tips for Selecting the Best Painting Company Perrysburg OH
- Paint: Opt for ceiling-specific paint, often formulated with low splatter properties and a flat finish to reduce glare.
- Rollers: Use a roller with a thick nap (¾-inch or more) for textured ceilings; for smooth ceilings, a thinner nap (⅜-inch) will suffice.
- Extension Pole: A sturdy extension pole will save you from constantly climbing up and down a ladder, reducing physical strain.
- Drop Cloths: Protect your floors and furniture by covering them with drop cloths or plastic sheeting.
Using high-quality tools not only ensures better results but also makes the job more efficient.
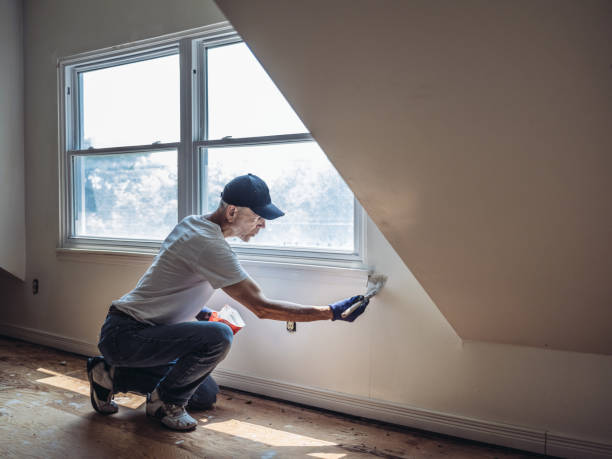
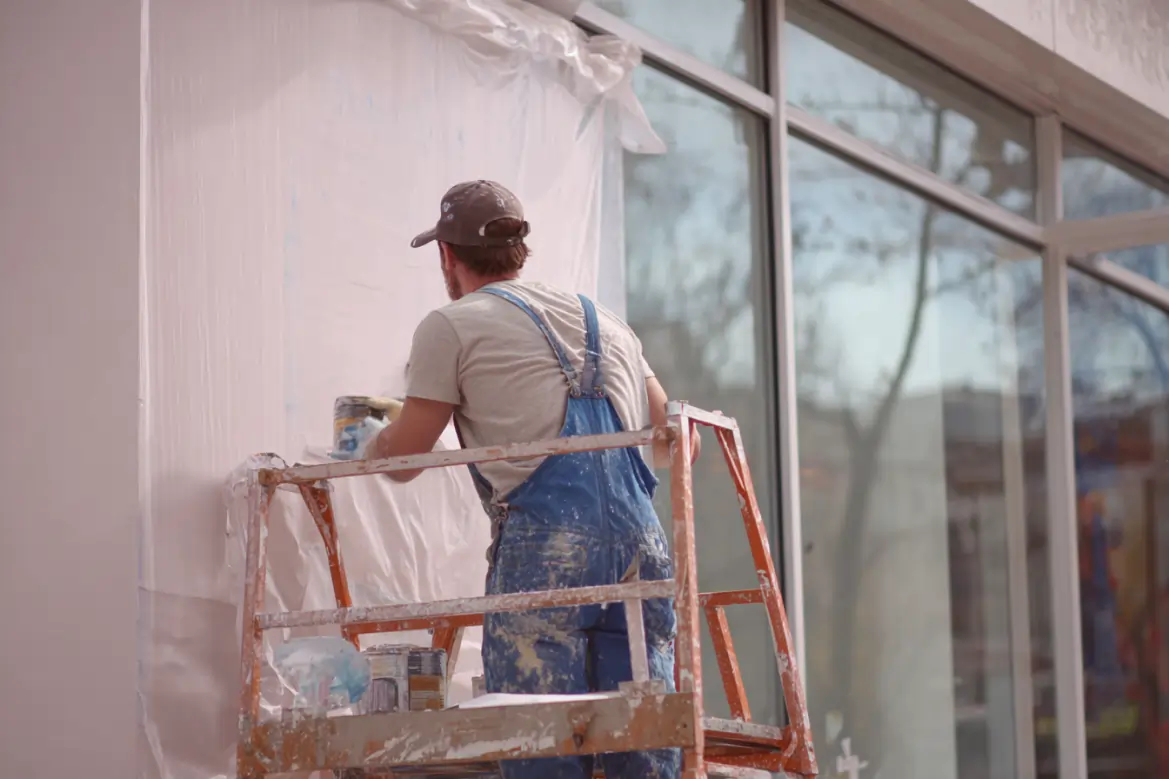
Preparing the Surface Properly for Interior & Exterior Painting Perrysburg OH
- Clean the ceiling to remove dust, grease, or cobwebs using a duster or mild detergent solution.
- Repair cracks or imperfections with spackle or joint compound.
- Sand rough areas once repairs are dry for a smooth surface.
- Apply primer if transitioning between drastically different colors, painting over stains, or working on porous surfaces like drywall.
Proper preparation creates an ideal base for paint adhesion and extends durability.
Apply Paint Strategically
- Start by cutting in along edges of the ceiling with a brush for precise application where rollers can’t reach.
- Use ‘W’ strokes with your roller in sections of about 3 feet by 3 feet at a time—this reduces lap marks while ensuring even distribution.
- Overlap each section slightly as you work across the room to maintain consistency.
- Avoid overloading your roller as excessive paint can cause drips; aim for thin coats instead.
Two coats are recommended in most cases to achieve full opacity and coverage.
Manage Lighting and Ventilation
- Use natural light during daytime hours whenever possible.
- For evening projects, ensure adequate artificial lighting from multiple angles.
| Reason | How It Helps |
| Reduces strong odors | Keeps air fresh by circulating fumes away from enclosed spaces |
| Speeds up drying process | Allows paint layers to cure faster while reducing dust settling on wet surfaces |
| Promotes safer work conditions | Prevents inhalation of harmful chemicals present in some paints |
By prioritizing light sources and airflow management, both safety and quality are significantly enhanced.
Mastering these techniques will help achieve professional-looking results when tackling ceiling projects without undue stress or effort.
How Poor Surface Sealing Can Lead to Hidden Structural Damage Beneath Paint
Surface sealing plays a critical role in the longevity and effectiveness of any painting project. Neglecting this crucial step can lead to more than just cosmetic issues; it can result in significant and often hidden structural damage beneath the painted surface. Proper surface sealing ensures that the underlying material is adequately protected from environmental factors such as moisture, temperature fluctuations, and contaminants. If you need help with any of these contact a painter at https://www.perrysburgpainting.net/.
The Importance of Surface Sealing
- Prevents moisture penetration, which can lead to issues like mold growth or wood rot.
- Reduces the risk of paint blistering or peeling caused by trapped air or water vapor.
- Enhances adhesion between paint layers and substrates, ensuring an even finish.
Without a properly sealed surface, these problems may arise over time and compromise both aesthetic appeal and structural integrity.
Hidden Dangers of Poor Sealing
- Moisture Intrusion:
Unsealed surfaces allow water to seep into porous substrates like wood, concrete, or drywall. Over time, this water penetration can weaken the material’s structure. For example:
| Material | Common Effects of Moisture Intrusion |
|——————|—————————————-|
| Wood | Warping, rotting, termite infestation |
| Concrete | Cracking due to freeze/thaw cycles |
| Drywall | Softening and loss of structural integrity | - Mold Growth:
Damp environments created by poor sealing provide an ideal breeding ground for mold and mildew. These not only cause health concerns but also deteriorate materials over time. - Paint Failure:
Without proper sealing, paint adhesion weakens significantly. This leads to cracking, blistering, and peeling—leaving the substrate exposed to further damage. - Corrosion on Metal Surfaces:
For metal surfaces like iron or steel beams used in construction projects, improper sealing allows rust to form when exposed to oxygen and moisture.
Best Practices for Proper Surface Sealing
- Select Appropriate Sealers: Use sealants designed for your specific substrate material—e.g., wood primers for timber or masonry sealers for brickwork.
- Repair Pre-existing Damage: Address cracks or defects on the surface before applying a sealant so that it adheres properly without trapping existing vulnerabilities underneath.
- Conduct Thorough Cleaning: Dirt, grease, mildew stains—these should all be removed before sealing begins as they interfere with adhesion.
- Prime Porous Surfaces First: Porous materials such as drywall absorb liquids easily; priming reduces absorption rates while enhancing durability over time.
Long-Term Benefits of Properly Sealed Surfaces
- Minimal risk of early repainting due-to failure.
- Better protection against environmental wear-and-tear.
Tips for Painting Ceilings Like a Professional Painter
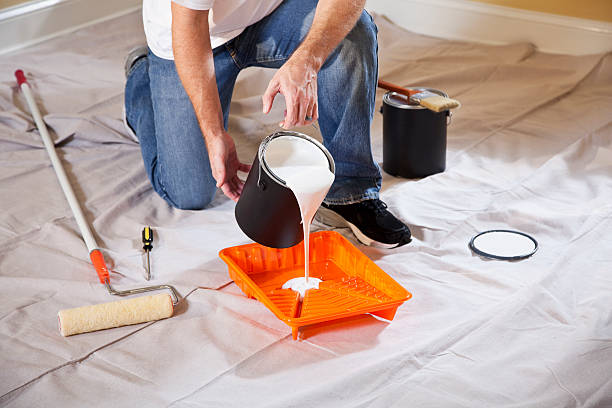
1. Gather the Right Tools and Materials
- Paint: Use ceiling-specific flat or matte paint to reduce glare and hide imperfections.
- Rollers: Opt for a roller with an extendable handle and a thick nap (3/8 to 3/4 inch) to cover textured or popcorn ceilings.
- Brushes: An angled sash brush is helpful for cutting in around edges.
- Drop Cloths: Protect your furniture and floors from drips and splatters with drop cloths or plastic sheeting.
- Painter’s Tape: Use high-quality painter’s tape to mask off walls, fixtures, or molding.
- Primer (if needed): For stained or previously unpainted surfaces, primer ensures better adhesion.
2. Prepare the Workspace
- Move as much furniture out of the room as possible. Cover remaining items with drop cloths.
- Dust the ceiling thoroughly using a microfiber mop or vacuum attachment.
- Fix any cracks or holes using spackle; sand them smooth once dry.
- Remove any fixtures like light covers if possible or tape them off securely.
3. Start With Edges First
- Use painter’s tape where the wall meets the ceiling for crisp edges.
- Cut in along corners and edges using an angled brush before rolling out large sections of paint. This ensures full coverage in areas that rollers can’t reach.
Pro Tip: Work in small sections so that your brush marks blend seamlessly into rolled areas.
4. Roll Paint Strategically
- Pour paint into a roller tray; avoid overloading your roller as this can cause drips.
- Start in one corner of the room and roll in “W” or “M” patterns to evenly distribute paint before filling it in with straight passes.
- Overlap each section slightly to prevent streaking.
For textured ceilings: – Consider using specialized rollers designed for textured surfaces.
5. Manage Lighting Conditions
- Paint during daylight hours if possible or use adjustable work lights positioned at various angles to detect shadows caused by missed spots.
Additional Tips for Success
| Problem | Solution |
| Visible lap marks | Maintain a wet edge by working quickly before paint dries completely |
| Dripping paint | Use thinner coats instead of overloading brushes/rollers |
| Neck strain | Use an extendable pole instead of ladders whenever possible |
By implementing these strategies, you’ll be able to approach ceiling painting like a professional while minimizing common frustrations associated with this task—producing high-quality results that enhance any interior space without compromising on efficiency or detail orientation.
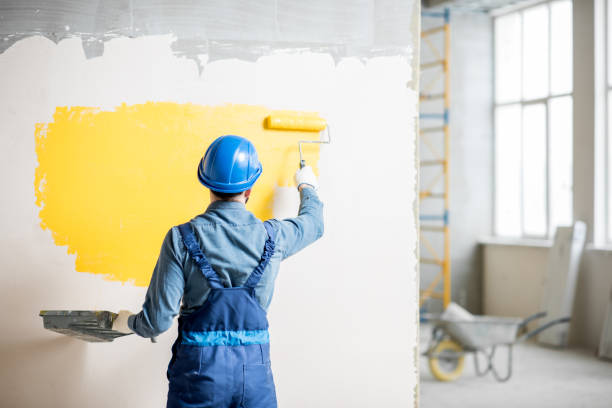
Why Commercial Coatings Fail Faster Without Proper Substrate Preparation
Proper substrate preparation is a critical step in any commercial painting project. When this essential process is neglected or performed inadequately, it can lead to premature failure of the coatings, resulting in costly repairs and frequent repainting. Here’s a closer look at why substrate preparation is so important and how its absence impacts the longevity of commercial coatings.
The Role of Substrate Preparation
- Cleaning: Removing dirt, grease, old paint residues, or contaminants that can hinder adhesion.
- Repairing: Addressing cracks, holes, or structural weaknesses in the surface to create a uniform base for painting.
- Priming: Applying a suitable primer to improve adhesion between the substrate and the coating while sealing porous surfaces.
- Surface Treatment: For materials like metal or concrete, special treatments such as acid etching or rust removal may be required to condition the surface.
Consequences of Poor Substrate Preparation
- One of the most significant issues occurs when paint fails to bond with the surface due to contaminants like oil, grime, or moisture remaining on it.
- This often results in peeling, blistering, flaking paint layers soon after application.
- On surfaces like steel or aluminum used in industrial settings, improper cleaning and lack of rust inhibitors can lead to rapid corrosion underpainted areas.
- If cracks or holes on walls are not repaired prior to painting, they may cause uneven textures that not only ruin appearance but compromise protective performance.
- Coatings applied without proper priming tend to degrade faster under environmental factors like UV exposure and temperature fluctuations.
Best Practices for Effective Substrate Preparation
- Use high-pressure washing systems for thorough cleaning of large surfaces.
- Conduct patch testing on small sections before applying primers across broader areas.
- Match primers based on both material type (e.g., wood vs concrete) & specific environmental demands (humidity-prone?).
How Environmental Factors Impact the Durability and Longevity of Paint
Environmental factors play a crucial role in determining how long paint will last and how well it will perform. Understanding these factors can help you make informed decisions when selecting, applying, and maintaining paint.
Key Environmental Factors That Affect Paint Durability
- Ultraviolet (UV) rays from the sun can degrade paint over time by breaking down its chemical bonds. This often leads to fading, chalking, or discoloration of the paint surface.
- High UV exposure can also cause certain types of paints to crack or peel prematurely.
- Extreme temperature changes, especially in regions with significant differences between day and night temperatures, can cause the substrate beneath the paint to expand and contract.
- This constant movement can lead to cracks in the paint film and reduce its adhesion over time.
- High humidity during application can interfere with proper drying and curing processes, leading to bubbles or blistering in the paint film.
- Consistently humid environments may also encourage mold or mildew growth on painted surfaces.
- Frequent exposure to rain or water leaks can weaken the integrity of exterior paints if not properly sealed or waterproofed.
- Water ingress beneath poorly applied or low-quality paints may lead to flaking, peeling, or even substrate damage.
- Airborne pollutants such as dirt particles, smog, acid rain, or industrial chemicals can corrode painted surfaces over time.
- For commercial buildings near industrial areas, specialized coatings may be necessary to resist damage from harsh chemicals.
- Strong winds carry abrasive particles like sand or dust that can erode painted surfaces over time.
- This is particularly relevant for coastal areas where salt-laden winds exacerbate wear on exterior finishes.
Tips for Protecting Paint Against Environmental Damage
- Choose Weather-Resistant Paints: Look for paints specifically formulated for your region’s climate conditions (e.g., UV-resistant products for sunny climates or moisture-resistant coatings for humid areas).
- Seal Surfaces Properly: Ensure proper priming and sealing of substrates before painting to prevent water intrusion and improve adhesion.
- Regular Maintenance: Periodic cleaning removes dirt buildup and pollutants while helping identify early signs of damage such as cracks or peeling.
- Apply Protective Coatings: Consider adding a clear topcoat designed to increase resistance against UV rays, moisture, and abrasion for high-exposure areas.
Table: Climate-Specific Paint Types
| Climate Condition | Recommended Paint Type | Key Features |
| Hot & Sunny | UV-resistant acrylic paints | Fade-resistant; flexible under heat |
| Humid & Rainy | Water-repellent latex paints | Mold-resistant; durable against moisture |
| Coastal/Marine | Rust-inhibitive epoxy coatings | Resistant to salt spray corrosion |
| Cold & Frost-Prone | Elastomeric paints | Flexible; prevents cracking during freezing |
Properly accounting for environmental factors during product selection and application is essential for achieving long-lasting results with any painting project. A proactive approach will ensure your investment stands up against harsh climate conditions while maintaining its aesthetic appeal over time.
- Painters Perrysburg OH: Exploring Interior and Exterior Paints and Their Proper Use
- Understanding the Difference Between Interior and Exterior Paint for House Painting Perrysburg OH
- Mastering the Art of Painting: Expert Painters Perrysburg OH Homeowners Trust
- Key Differences Between Exterior and Interior Paint for House Painting Perrysburg OH
- How Often Should You Hire Painters Perrysburg OH for Your Home’s Interior and Why It Matters
- Painters Perrysburg OH: Your Guide to Choosing the Perfect Paint Finish for Your Home
- Comprehensive Guide to House Painting Perrysburg OH for Beginners and Experts
- How Often Should You Schedule House Painting Perrysburg OH for Your Home or Business?
- Painters Perrysburg OH: Key Differences Between Exterior and Interior Paint Colors